
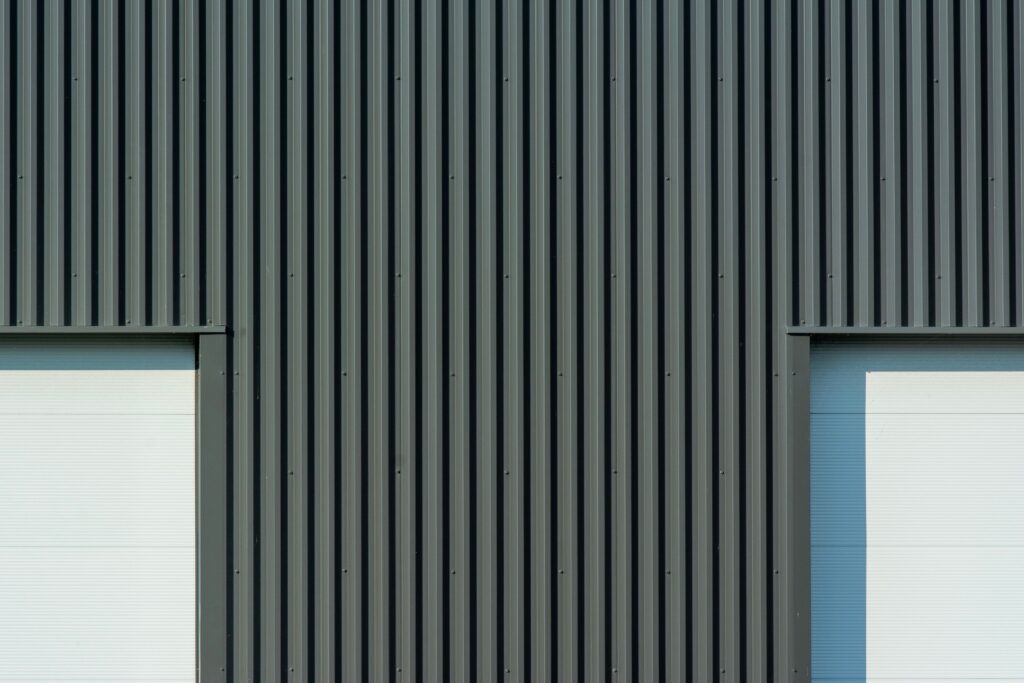
Installing metal siding means fastening steel, aluminum or corrugated panels over a properly wrapped and furred wall, working from a straight baseline, overlapping panels in the direction that sheds water, and leaving every fastener a little loose so the metal can expand and contract with the seasons. Get the furring and the fastening right and a metal-clad wall will easily outlast the house around it.
Metal siding covers more ground than people expect: factory-painted steel lap panels that mimic wood clapboard, bare or painted aluminum, and corrugated or ribbed steel panels more often seen on shops and modern mountain homes. The install logic is similar across all three, and this guide walks through it.
✓Key takeaways
- Metal siding usually means steel, aluminum or corrugated/ribbed panels, each fastened differently but all needing a flat, furred surface behind them.
- Panels are hung with loose, centred fasteners so the metal can expand and contract. Over-driven screws cause oil-canning and buckling.
- Furring strips are common over uneven walls or rigid foam, giving a flat plane and an air gap behind the cladding.
- Steel and aluminum are both non-combustible, a genuine advantage for homes in the wildland-urban interface around Canmore.
- Published Canadian price guides put aluminum around $7 to $10 per sq ft and steel around $25 to $40 per sq ft installed, well above vinyl.
- Corrugated and ribbed panels often use exposed fasteners, which need a compatible washer and gasket to stay watertight.
In this guide
Steel, aluminum or corrugated: what you are actually buying
“Metal siding” is not one product. The three common forms behave differently on the wall.
| Type | What it looks like | Typical fastening |
|---|---|---|
| Steel lap panels | Factory-painted, often styled to look like wood clapboard or board and batten | Concealed fastener, nailed or screwed through a flange |
| Aluminum panels | Lighter, usually painted, resists rust but dents more easily than steel | Concealed fastener, similar profile to vinyl or steel lap |
| Corrugated or ribbed steel | Flat sheets with a wave or rib pattern, common on shops and modern builds | Exposed fasteners with a rubber washer, screwed through the high ribs |
Why metal shows up on mountain homes
▲Bow Valley note
FireSmart Canada lists non-combustible claddings, including metal, concrete, stucco and fibre cement, as the preferred options for homes in the wildland-urban interface, which covers most of Canmore. Metal also shrugs off UV, hail and the freeze-thaw cycling that is hard on softer materials, which is part of why we see more of it on new mountain builds every year.
Before the panels go on: furring, wrap and flashing
A flat wall makes a straight metal wall. Furring strips (horizontal or vertical wood or metal strips over the sheathing) correct an uneven wall, create a drainage gap behind the cladding, and give a consistent surface to screw into when rigid foam insulation is part of the assembly.
What sits behind a metal-clad wall
A simplified cross-section, inside to outside.
- Interior finishDrywall and paint on the room side.
- Framing and insulationStuds with batt or rigid insulation between them.
- Sheathing and weather barrierOSB or plywood with a taped weather-resistive barrier.
- Furring strips and air gapCreates a flat plane and lets water drain and dry.
- Metal panelScrewed with loose, centred fasteners for movement.
Simplified wall assembly for illustration. Confirm your assembly against your building plans and the Alberta Building Code.
Clearances and water management
- Keep metal siding clear of grade, decks and roofs, following the clearance figures in your specific manufacturer’s guide so water and snow cannot wick up behind the panels.
- Flash every window, door and roof-to-wall junction before the first panel goes up. Metal is only as watertight as the flashing behind it.
- Lap panels in the direction water travels, upper panel over lower, so wind-driven rain cannot get behind a seam.
- Leave an air gap behind the panel wherever furring allows it, so any moisture that does get in can drain and dry.
Installing metal siding step by step
The install in six steps
The same order applies to steel lap, aluminum and most corrugated panel jobs.
- Furring and wrapFlat, furred wall with a taped weather barrier.
- Starter and layoutA level starter strip or baseline track sets every course above it.
- Cut and prepShears or a fine-tooth metal blade, never an abrasive disc near the finish.
- Fasten looselyCentre screws in the slot, snug but not tight, into solid framing or furring.
- Overlap and sealPanels lapped to shed water, exposed-fastener seams gasketed.
- Trim and cornersFactory trim at corners, openings and the roofline.
Step 1: Furring, wrap and flashing
Confirm the wall is flat, fur it if it is not, and wrap it with a taped weather-resistive barrier before any metal goes up. Flash windows, doors and the roofline first, working from the bottom so every layer sheds water onto the layer below it.
Step 2: Set a straight baseline
Snap a level line for the first course or set the starter track the manufacturer specifies. As with any lap siding, a baseline that is a quarter inch out over a long wall shows up as a visible lean by the top course, so take the extra time here.
!Crew tip
Check your baseline against two or three points along the wall, not just the two ends. A slightly bowed foundation can throw off a line that looked level at both corners.
Step 3: Cut panels cleanly
Use electric shears, a nibbler or a fine-tooth metal-cutting blade. Avoid abrasive discs close to the finished face; the sparks they throw off can embed in the paint and rust later. Support long panels on both ends when cutting so they do not kink.
Step 4: Fasten with room to move
This is the step that separates a wall that lasts from one that buckles. Drive screws or nails through the centre of the factory slot, snug against the panel but not crushing it down tight. Metal expands and contracts more with temperature than vinyl does, and a fastener driven home tight will not let it. Always fasten into solid framing or furring, never into the sheathing alone.
×Watch out
Over-tightened fasteners are the most common metal siding mistake we see. The panel looks fine the day it goes on and then oil-cans, buckles or pulls a screw loose the first time the temperature swings hard, which it does often here.
Step 5: Overlap, seal and gasket
Concealed-fastener lap panels overlap like any lap siding; keep the laps consistent and check them with a level every few courses. Exposed-fastener corrugated or ribbed panels need a compatible rubber or neoprene washer under every screw head, driven into the high rib rather than the valley, so water cannot pool at the fastener.
Step 6: Corners, trim and the roofline
Use the manufacturer’s matching trim at inside and outside corners, around windows and doors, and at the roof-to-wall junction, with flashing behind every piece. Factory trim keeps the finish consistent and gives the panel ends somewhere to tuck into, instead of being caulked and left exposed.
Metal siding vs vinyl and fibre cement
| Detail | Metal (steel or aluminum) | Vinyl | Fibre cement |
|---|---|---|---|
| Fire resistance | Non-combustible | Can melt or deform near heat | Non-combustible |
| Weight | Light to moderate, steel heavier than aluminum | Light | Heavy |
| Movement | Expands and contracts; needs loose fastening | Expands and contracts; needs a nail gap | Minimal movement |
| Typical cost installed | Among the highest, especially steel | Lowest | Mid-range |
| Maintenance | Repaint eventually; steel can rust if coating fails | Fade over decades, little upkeep | Repaint on a cycle |
What does metal siding cost installed?
Published guides show a wide spread, because steel, aluminum and panel style price very differently. HomeStars lists installed costs (updated August 2026) at roughly $7.20 to $10.00 per sq ft for aluminum and $25.20 to $40.00 per sq ft for steel, both well above vinyl at $4.80 to $11.50 per sq ft. A separate 2026 US cost guide from Fixr shows a broader range across metal types, from about $3 to $18 per sq ft depending on material, coating and panel style, which lines up with how much a basic galvanized panel and a premium coated steel lap product can differ.
Installed cost per sq ft, published guides
Ranges vary with material, coating, panel style and your wall’s prep needs.
Sources: HomeStars siding price guide (updated 21 Aug 2026, CAD); Fixr metal siding cost guide (2026, USD, shown for comparison only). Ranges vary by contractor, coating and scope.
For a side-by-side of every common material, see our guide to siding installation cost by material.
Is metal siding a good fit for your home?
Metal pros
- Non-combustible, a real plus in the wildland-urban interface
- Handles UV, hail and freeze-thaw cycling well
- Long service life when fastened correctly
- Modern and farmhouse looks both work in corrugated or lap profiles
Metal cons
- Among the pricier claddings, especially coated steel
- Dents more easily than people expect, aluminum in particular
- Needs correct, loose fastening or it buckles
- Exposed-fastener styles rely on gaskets that can fail over decades
Frequently asked questions
How do you install metal siding?
Fur and wrap the wall, flash every opening, set a straight baseline, cut panels with shears or a fine-tooth metal blade, fasten them loosely through the centre of the slot into solid framing, overlap or gasket the seams, then finish with the manufacturer’s trim at corners and openings.
Can you install metal siding yourself?
Cutting and basic fastening are within reach for an experienced DIYer, but furring an uneven wall, flashing correctly and fastening loosely enough to allow movement are easy to get wrong, and mistakes show up later as buckling or leaks.
Why does metal siding buckle or oil-can?
Almost always from fasteners driven too tight, which stops the panel expanding and contracting with temperature. Loose, centred fastening into solid framing is the fix.
Is steel or aluminum siding better?
Steel is stronger and more dent-resistant but heavier and usually costs more installed. Aluminum is lighter and will not rust, but dents more easily. Both are non-combustible.
Do exposed-fastener metal panels leak?
They can, if the washer or gasket under each screw fails or if fasteners are driven into the valley instead of the rib. Concealed-fastener lap panels avoid this risk entirely.
Is metal siding worth it for a Canmore home?
It is a strong choice where fire resistance, hail and big temperature swings matter, which describes most of the Bow Valley. The trade-off is a higher installed cost than vinyl or most engineered wood products.
Thinking about metal siding?
Old Goat Construction installs siding across Canmore and the Bow Valley, metal included. Tell us about your project and we will give you a straight answer on materials, timing and cost.
